Eye-Fi Connectx2 Review
 If I had to choose what were the most important files on my Home Server then I would instantly say it’s our photos. Gone are the days of film and processing but part of the process of backing up is getting these files onto our servers. In the past I’ve manually connected the camera to the server and uploaded them to the server after which copies are made to online backup services such as Wuala.
The device I’m going to introduce you to today is going to take away the step of manually connecting your camera. In fact it can call home from anywhere where there is a Wi-Fi hotspot and all within the same form factor as a SD Memory Card. Let me introduce you to the Eye-Fi Connectx2.
First let me give you their overview and features direct from their website:
overview
Keep forgetting photos in your camera? Get the 4GB Connect X2 card to make saving and sharing memories effortless.
Automatically upload photos and videos to your computer and to your favourite site – they’ll just land there already organized. Choose from 25 websites, including Flickr, Facebook, Picasa and more. See comparison chart
features
4GB memory: Store up to 2,000 photos or 90mn of video with top-notch Class 6 speed. Works just like with your regular SDHC memory card. Perfect for your compact camera!
Wireless: Upload JPEG photos & videos fast through your home Wi-Fi network thanks to built-in 802.11n speed.
Endless: Get the only card that can free-up space for you after pictures are safely delivered. Never worry about running out of space again.
Automatic back-up: Wirelessly upload JPEG photos and videos to folders of your choice on your computer, or even directly into iPhoto for Macs.
Organized: Photos and videos can automatically land in date-based folders, so memories are organized effortlessly.
Compatible: No need to buy a new camera. Check here to confirm that your camera can be turned into a wireless uploading machine.
Effortless sharing: Wirelessly send your JPEG photos and videos to a popular website. See the complete list you can choose from, which includes Flickr, Facebook, Picasa, MobileMe, and YouTube.
Pick your pics: You can select which photos and videos are uploaded.
Get notified: Get email, Facebook or Twitter alerts when your photos are uploading online.
Quick and sweet: Set up takes just minutes.
Getting Started
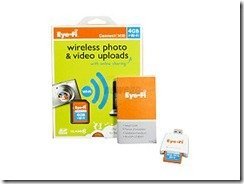
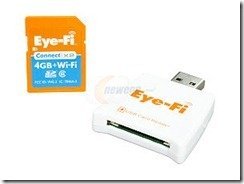
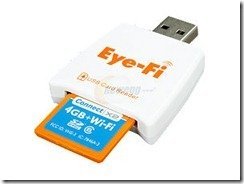
First we get the packaging open to find the Connectx2 card itself in the shape of an 4GB Class 6 SD Card. However, on board the card there is a microprocessor and a Wireless N (2.4GHz only) communications device that can make a connection to the internet or to your system through your home router/access point. Also included is the Eye-Fi USB Adapter to allow you to setup the card from any PC or Mac with a USB Port.
There are a number of ways to install and setup the Connectx2 card in your home server environment. We choose to use a remote desktop session on the Windows Home Server because you will need this to eventually setup the card to bind to your server.
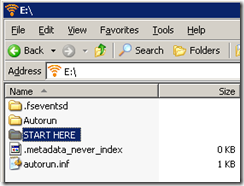
First insert the Connectx2 Card into the Eye-Fi USB Adapter and then insert this into a free USB port in your server. After a few moments of auto detection you should fine a new drive present in My Computer and depending on your setup you may be prompted with the auto play window. You need to open the drive letter and fine the ‘START HERE’ folder.
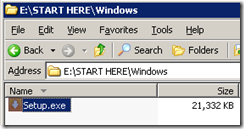
Inside you will find the ‘setup.exe’ so open that to start the setup process.
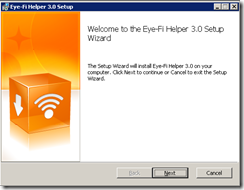
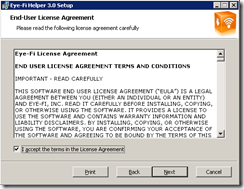
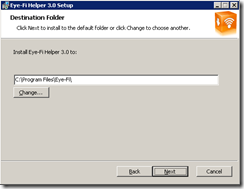
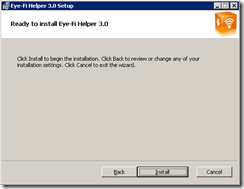
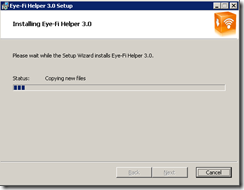
What follows is the pretty standard installer.
When you are asked for the location to install to go with the default on C:
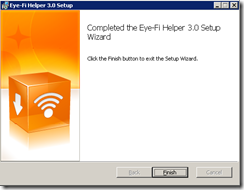
The Eye-Fi software is broken into two parts. The Eye-Fi helper which runs in the background monitoring for connections from the card and the Eye-Fi Centre which allows you to configure the card and monitor uploads etc. The first part of the installer is complete and hitting finish will then go to the next stage.
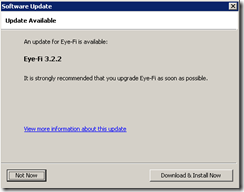
Part of the setup for installing the Eye-Fi Centre is to check for the latest update from the web so take this into account if you run a very strict firewall in your network environment.
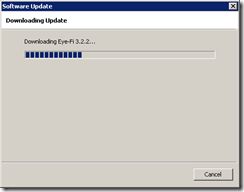
We found an update so click ‘Download & Install Now’
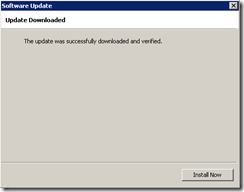
Again plenty of information screens to let you know what is happening at each of the stages
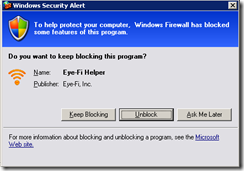
Eye-Fi helper has to listen out on the network for connections from the Connectx2 card so it makes sense to allow Eye-Fi to communicate on the network rom your Home Server.
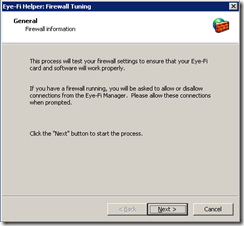
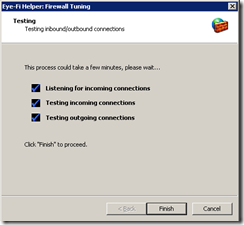
After the components have been installed Eye-Fi Helper will check your network to ensure connections can be made to the card. Hit ‘Next’ to start the process.
So long as you unblocked the Windows Home Server firewall in one of the previous steps then all should be well.
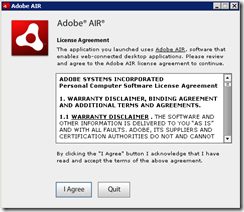
After closing the previous Wizard you may notice a notification in he system tray that and Eye-Fi card has been found. This should then kick off the installer for Adobe Air.
As I mentioned before Eye-Fi has software for both Windows and Mac and Air provides a means to program for both platforms. Adobe Air needs to be installed in order for the Eye-Fi Centre to run.
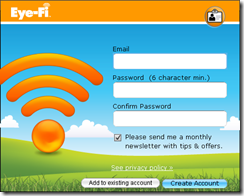
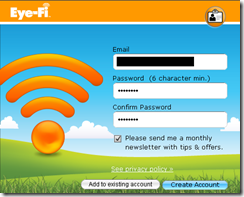
If this is your first time using the Eye-Fi Centre you will be prompted to setup login details. An email address and password are required and this enables you to use some of the online feature that Eye-Fi provide.
Once you have entered your details click ‘Create Account’ to continue.
You will then be sent an email to confirm your account. Follow the steps in the email. At the same time the firmware of the Connectx2 will be updated if necessary. Click the ‘Update’ button to continue.
Eye-Fi Centre will keep you informed of each step. Be sure not to remove the card from the reader, or the read from the computer whilst the update is in progress.
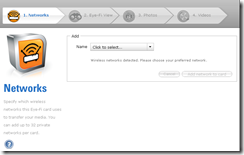
Once the firmware update is complete the Eye-Fi Centre Setup Wizard will be presented. The first step is to add an available Eye-Fi network to the card. From the drop down list next to name select your Wi-Fi network.
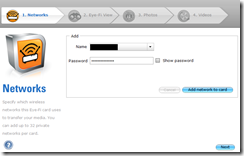
Then you have to enter in the password and select ‘Add network to card’
At this point I had a problem. I run a wired network in my office but it is out of reach of my wireless access point. This meant I could not get a good enough signal at my server where the Connectx2 card was setup. At this point I took the card and reader and set it up in my laptop. I went through all the steps from before (minus the firmware update) to get back to this point. I then could get the Connectx2 card to successfully connect to my Wi-Fi network. The next steps are carried out on my laptop but could have been completed exactly the same way on the Windows Home Server.
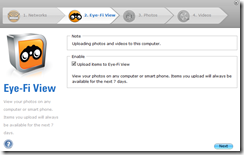
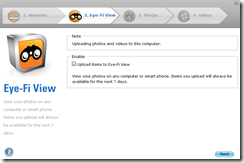
Once you have your wireless network added clicking next takes you to the section where you can decide to upload photos and videos to Eye-Fi View. Eye-Fi is an online service that allows you to view you photos from the internet.
I only wanted my photos to be copied to the server so I unchecked this option
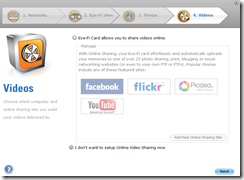
Likewise you can set the card so that it will upload to many popular photo websites or even use FTP or SCP. Again I only wanted photos to be copied to my Windows Home Server.
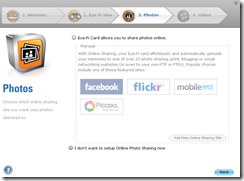
On the next screen you get similar options for the videos. I chose not to use any online services.
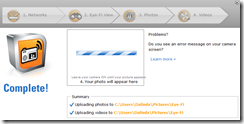
On clicking next you get a confirmation screen of the actions that will be set on the card. Click ‘Finish’ to continue (user error here meant this screenshot was over cropped)
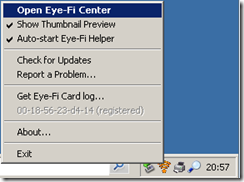
It is at this point I took the Eye-Fi Card and Reader back to my Windows Home Server. From the system tray I right clicked on the Eye-Fi icon to bring up a menu and selected ‘Open Eye-Fi Centre’
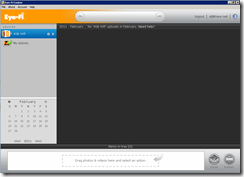
In the Eye-Fi Centre you should notice two tabs on the right hand side of the Window, ‘4GB Wifi’ and ‘My Activity’. If you highlight ‘4GB Wifi’ you will see a little cog wheel which is a button to allow you to open the settings. You can also get to the settings from the File Menu. You may see more than one listing for the same card. This is a side effect of running non-server software in a server environment. More about that later.
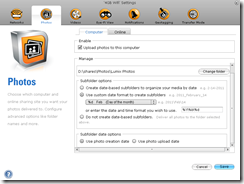
This time I went straight to the ‘Photos’ tab. There I selected ‘Change folder’ to select the Photos Share I wanted on my Home Server.
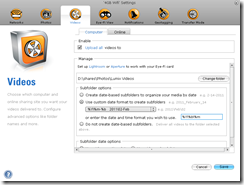
I then moved to the next tab ‘Videos’ to do the same change of destination and Eye-Fi Centre will prompt you to select a save the settings.
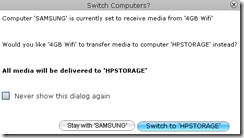
At this point Eye-Fi Centre will detect that the destination for photos has changed from the Laptop to the Windows Home Server. You may not see this dialogue box if you have done the whole setup on your Windows Home Server.
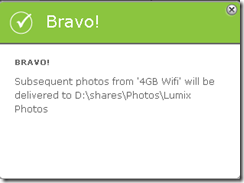
You’ll then get confirmation that the change has been made.
The same can then be done for Videos.
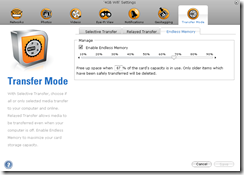
One neat feature that I wanted to use was Endless Memory. This is a unique feature of the Eye-Fi card which allows you to set a threshold of when the card should remove already uploaded media from the card. It will wait until the card is over a user defined used capacity and only the oldest item which have already been uploaded will be deleted. So long as you let the card connect frequently enough to your Wi-Fi then you will never need to delete any media from your memory card.
Final thoughts
I was very impressed with the Eye-Fi Connectx2 card. In practice photos were immediately transferred from the camera to the server but there are a few things to consider. Most people will be using 802.11g (54mpbs wireless) and you can only expect transfer speeds over wireless network in the region of 1-2 MB/s. For photos this is fine but if you have a camera that is capable of HD Video then you could be looking at quite large files that require many minutes to transfer. You should look into setting the standby time for your camera to a much longer timeout than default. However, Eye-Fi is smart; it will resume large file transfers where it can but sometimes you need to take another photo to kick it into life.
Eye-Fi Connectx2 works with regular picture formats but you need to purchase a Pro card to work with RAW images. Also Eye-Fi connect supports nearly all cameras but you should check for compatibility before purchase. I can confirm that AVCHD videos upload perfectly with the 4GB Connectx2 card.
Currently the Eye-Fi Connectx2 retails for £50 in the UK. It may seem expensive for a 4GB Class 6 SD Card but once you factor in the amazing features I think it’s definitely worth it.
Windows Home Server Considerations
Eye-Fi Centre has not been designed with a multi user server environment in mind such as Windows Home Server. Generally the software is robust but you can get it confused as it will run more than one instance if you let it. i..e in a Console Session and in a Remote Desktop Session.
We had issues with the stability of Eye-Fi centre after installing Adobe Air. These were all resolved after rebooting Windows Home Server. So far the software has been very well behaved and I’ve been able to automate one of those jobs that took my time. The added bonus is now my family can take photos and near instantly see them in Media Centre. I don’t know of any other gadget that can do that. Also I have piece of mind as I know as soon as each photo hits the server it’s backed up with Wuala.
Share this WHS Article with Others:











Nice review and cool, I would find that useful. What about battery life?